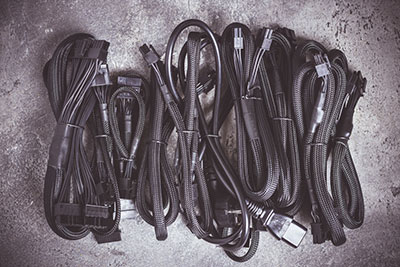
A PSU cable atcs as the powerhouse because it supplies power to computer systems. It is also essential in that it regulates the power supply the computer uses.
Ensures that the power supply is not too much or too low to get the computer system to work correctly. That’s why it is essential to get a custom-made PSU cable.
When you build your PSU cable, you will most likely get the maximum output from its use. Information is power. Read to know all there is to a custom-made PSU cable.
Get Your Free Sample!
Explore our custom services now. Email us at [email protected] for more details.
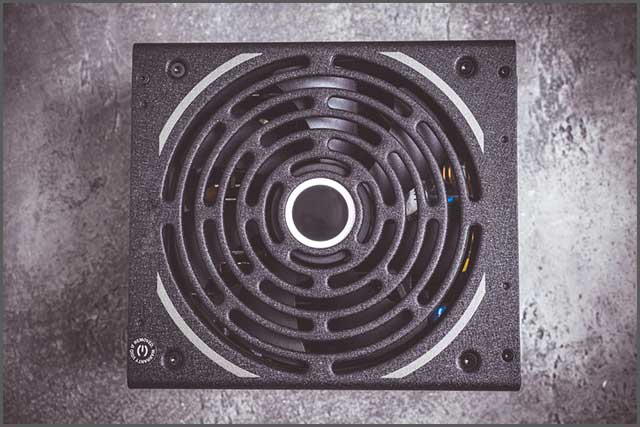
Chapter 1: What is PSU Cable?
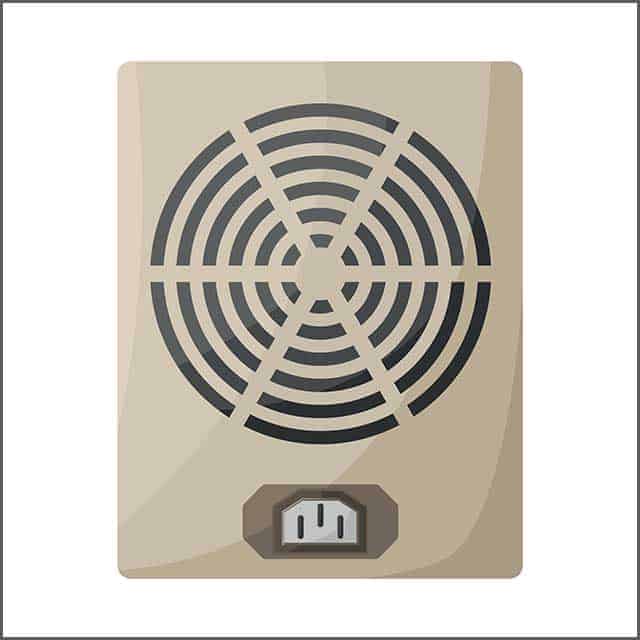
PSU is an acronym for the power supply unit. Very efficient in converting Ac to low voltage DC power for use in the internal functions of a computer.
When a computer connects with an electrical socket, the PSU pulls the required electricity and converts the AC to DC. In the same vein, it also regulates the amount of power supply and removes electrical spikes that threaten the power supply.
Get Your Free Sample!
Explore our custom services now. Email us at [email protected] for more details.
Chapter 2: Benefits of the PSU Custom-Made Cables
There are lots of advantages to building your custom-made PSU cable. It eliminates a lot of unpleasant circumstances and helps you save time and resources.
Chapter 3: Processes for Building the Custom-Made PSU Cable
It is usually an exciting task to get things done the right way. That does not, in any way, rule out the reality that you may encounter some difficulties. To get it right, you must have a mind ready to bring results correctly. The following are the steps to building the custom-made PSU cable. They are:
Get the appropriate tools and equipment
Building a custom-made PSU cable is easy if you are bent on getting it right. With the right tools and equipment in place, it isn’t a difficult task.
Another thing to consider is that you need to be conscious of your environment and the tool you are using.
Any mistake you make in the process of building your cable is capable of causing havoc or harm to all around you. So, to get a havoc-free environment, you must ensure that you are careful while carrying on with the process.
Make a diagram of all the wires and where the cables fit in:
When you put a diagram in place, it serves as a guide towards helping you make the right step to getting it right.
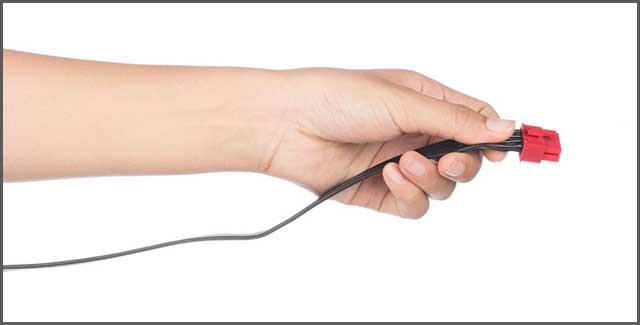
Next, get a plug and with the ATX extractor, take away the pins on the plugs. To extract the pin, you have to do it side by side. When you put in your ATX extractor, push it into the plug and pull out the pin.
It is essential to emphasize the difficulty of pulling wire through the cable. But, if you must get it right, you need to use a plier to get the wire at the other end of the cable in place to make it easy for you to get it in place. While doing this, ensure you don’t squeeze the wire too hard to ruin the entire cable.
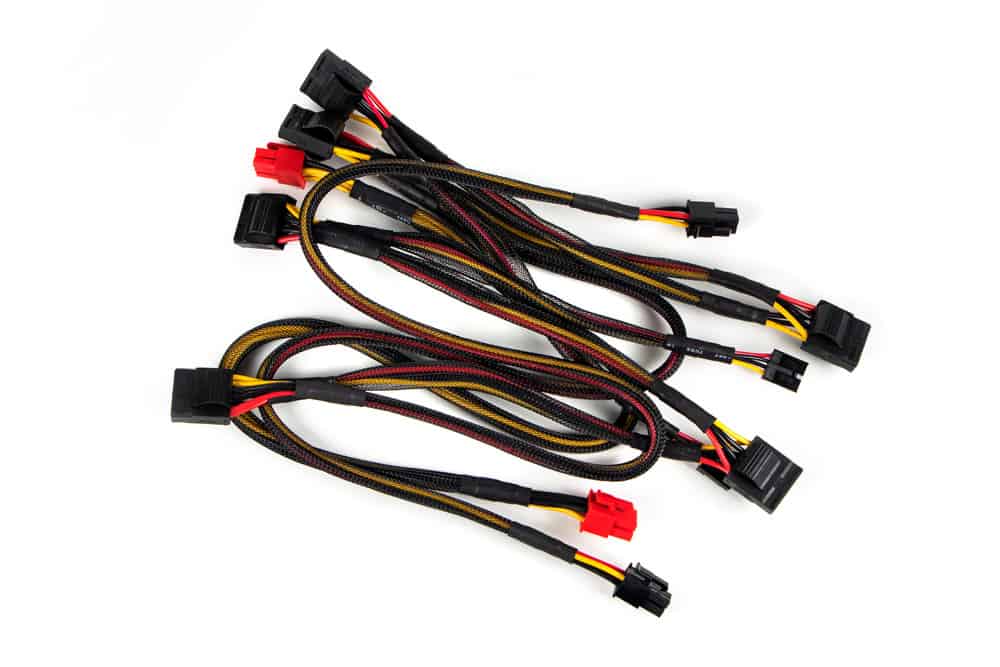
Separate the cables:
The next thing to do is to separate the wires from one another. This is the next step after you have successfully pulled out the wire. Separating the wires makes it easier for you to sleeve the cables.
Measure the cables:
After separating the wires, you have to measure the wires using tape. Don’t stretch the cables too much when you measure them.
You may not get the exact measurement when you stretch it too much. When you sleeve the edge of the wires, you next use a lighter to burn the edge slightly. This is important to prevent the edge of the cable from fraying.
Feed-in the end of the cable:
At this point, you need to put the end of the cable into the edge of the worn wire. Keep pushing it in until you cannot push it any further; after the end of the cable is successfully fed, the ends of the cables and plugs need to be connected. After securing both pieces, put a small rubber material over both pieces of equipment.
Burn it slightly:
Then, use a lighter to burn the rubber material together with the end of the cable. When doing this, ensure that you do not burn your fingers.
This process requires absolute carefulness to avoid accidents. Keep doing it until it shrinks down, and then give it a quick pat.
Give it time to cool, and then use equipment to pull it off. At this time, you will discover that the equipment bonded perfectly.
Note: This will be done for both ends of the cable plugs. It is also essential to do this for all the sleeving you want to use.
Put it into the actual plug:
After sleeving all the wires, the next step is to put them into the plug. They are inserting the sleeves into the cable and need to pay close attention to where the sleeves are going to avoid making a mistake.
Look out for the two sets of wings on the connector. The two wings are to face the sides, and then you push it into the cable until it makes a clicking sound.
When you are not very careful with the wings, they may cut because the arms are sharp.
Use the ATX extractor to pull out the connector from the other end of the cable. After pulling all your sleeves, you are sure everything is in order.
Chapter 4: Custom Cable Supplier —Wiringo
Custom-made PSU cables are a delight and perform many functions for individuals who use them. This is why everyone needs to get theirs.
However, not everyone can build custom-made PSU cables and requires professional assistance. The only way to get rid of problems common with creating custom-made PSU cables is by requesting the assistance of a professional.
Wiringo is an organization that concerns itself with excellent delivery that is second to none. You will get the custom-made PSU cable you desire if you provide details of your specification.
We ensure that you get the best results for your resources, and we make it worth your while. Feel free to contact us and provide us with the details of your specifications.
With us, you are safe and do not need to experience any form of discomfort. We are committed to giving you the satisfaction you deserve.
Conclusion
Custom-made PSU cables are essential. It saves time and resources and makes it easier for you to work with. It also makes it faster for you to see results and do the needful.
To make this a reality, you need to ensure that you pay attention to certain information that ensures you build your custom-made PSU cable well. Nonetheless, trust Wiringo to provide the best custom-made PSU cable services.
Get Your Free Sample!
Explore our custom services now. Email us at [email protected] for more details.