Jumper wire assembly helps make wire harnesses or jumpering between PCB headers, especially during prototyping. With jumper wires, repair, maintenance, and replacement become very easy. But what are jumper wires?
Get Your Free Sample!
Explore our custom services now. Email us at [email protected] for more details.
What are jumper wires?
The jumper wire is a simple electrical wire with connector pins at both ends. You can also call them wire jumpers or DuPont wire.
You can use these wires to interconnect different breadboards or test circuit components. Jumper wires help to make internal connections and also connections with equipment without soldering.
Jumper wires are either a single wire or a group of wires. You can fit individual jumper wires by inserting their connectors in the slots provided in the breadboard, piece of test equipment, or a board’s header connector.
How does the jumper wire work?
A jumper wire is a simple electric wire connecting distant electric circuits used in PCBs.
When you use a jumper wire on the electric circuit, you can control the flow of electricity. You can either stop the operation or operate a circuit that is impossible with normal wiring. Also, when you need specific changes or design changes on PCB, want to reinforce any defective part, partially hold the function, or change the circuit configuration, you can do this by attaching or detaching a jumper wire.
Types of connectors
Jumper wires differ based on the types of connectors at their ends. Some jumpers have the same connectors, while others have different ones. Here is a list of common connector styles found in jumper wires:
Solid Tips:
You can use these connectors on a breadboard or a female header connector. The breadboard has an organized arrangement of elements that allow easy insertion of wires and components. As a result, the density of the jump wires and components increases in the breadboard without fear of short circuits. You can use wires of different colors to distinguish the working signals when using too many jumper wires.
Crocodile clips:
You can temporarily use these clips to bridge sensors, buttons, and other elements with equipment or components that have random wires, connectors, and screw terminals.
Banana connectors:
You can use these connectors on test equipment for low-frequency AC signals and DC.
Registered Jack:
You can use these in computer networking and telephone. The connectors for them are RJ45 and RJ11, respectively.
RCA connectors:
You can use these for composite video signals (low resolution), audio, and other low-frequency applications.
RF connectors:
These connectors help to transfer radio frequency signals between antennas, test equipment, and circuits.
Alligator clip:
Alligator clips are mainly fancy jumper wires with two spring metal clips at both ends of the wire. These clips give jumpers a unique connecting point that allows them to connect to different situations, which is impossible with traditional jumpers.
RF Jumper cables:
These are small and more bendable cables that you can use to connect antennas and other equipment to network cabling. You can also use them in the base station to connect radio units to antennas. The diameter of the most bendable jumper cable is ½”.
Get Your Free Sample!
Explore our custom services now. Email us at [email protected] for more details.
Can jumper wires be soldered?
Yes, you can solder the jumper wires if the soldered portion is visible at opposite ends. The outline of the soldered wire connection must be visible as in a through-hole component lead. Insulating the jumpers soldered to components is essential to prevent short circuits.
You can solder jumper wires by following these steps:
- First, strip the jumper wire and open the strippers
- Secondly, in the jumper wires
- Now, solder the jumper wire to the board. Poke the tinned jump wire ends through the PC board
- Now, clip the extra wire and set the cutters near the wire base
- Finally, desolder the joints.
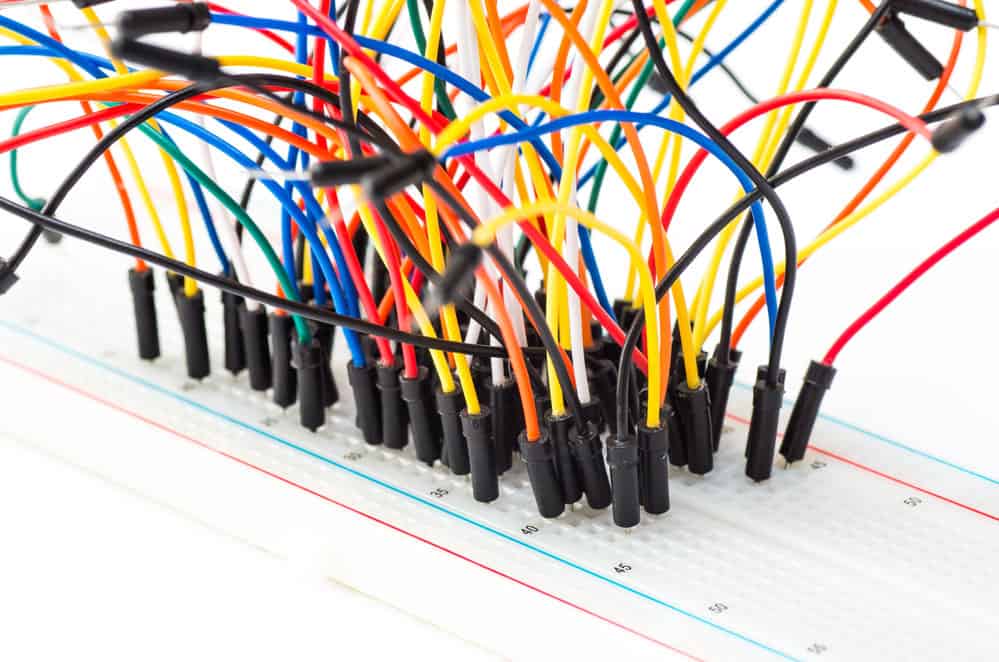
Caption: breadboard
Jumper wire colors:
You can find jumper wires in different colors; however, the colors do not indicate anything. The wire color is just for identifying the jumpers and keeping track of other connections, and using different color wires for the same operations will not affect its working.
However, you can pick colors to make things convenient. For example, you can use red for ground and black for power.
Jumper wire assembly types
There are three versions of jumpers:
- Male-to-male
- Male-to-female
- Female-to-female
The difference between them lies in the wire’s endpoints. In the male one, there is a protruding pin that you can insert into any socket to make connections. On the other hand, in the female one, there is no such pin at the female ends, and you can use female ends to plug things into them. The most common jumper wires are male-to-male, which you also use to connect two ports on the breadboard.
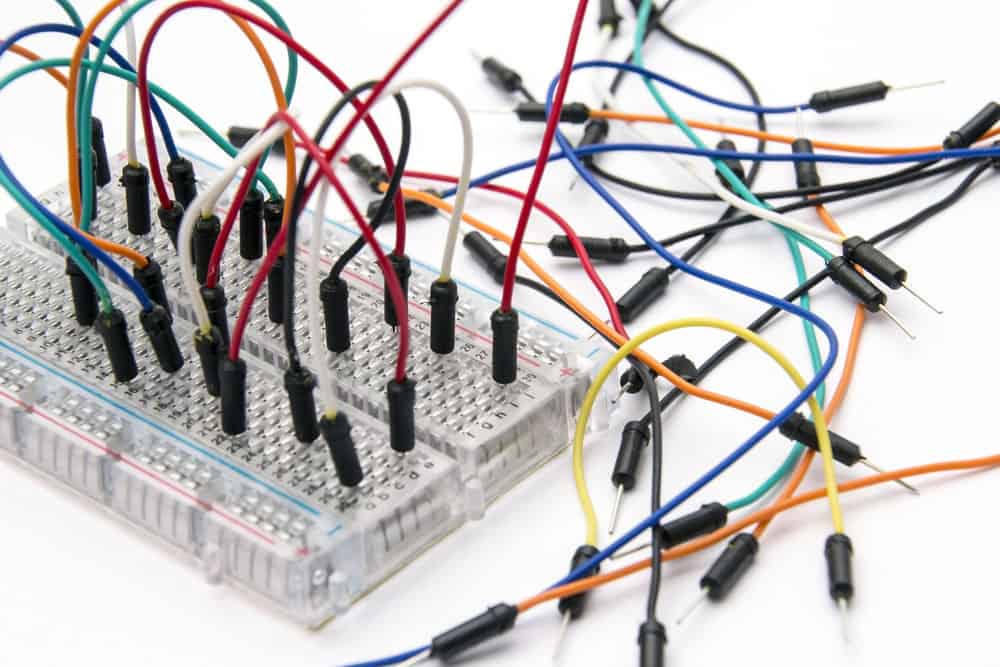
Caption: breadboard jumper cable wires
How to use jumper wires:
Jump wires help to modify a circuit or to diagnose a problem in a circuit. You can use these wires in different applications through the following steps:
Step 1:
First and foremost, follow all electrical safety precautions. Be extra careful when handling high-voltage circuits. Also, be attentive to low-voltage circuits.
Step 2:
Find out a suitable connector for your jumper wire. You can also use bare wire ends to connect two circuit points. However, if it is your first time, be cautious and use alligator clips, soldering, or any other connection for the jumpers.
Step 3:
To identify a fault or damage in a circuit, bypass the circuit with the jumper wire by connecting the jumper wire between two test points.
Step 4:
Next, connect the jumper wire to any ammeter or voltmeter for taking measurements across two points.
Step 5:
If you are making permanent connections with a jump wire, use the correct cable type of jumper. Remember to consider the gauge and insulation of the wire based on the application.
Step 6:
It is always good to test the modifications with the temporary jumper wire before setting up the permanent connection. Check the circuit’s electrical performance and see if it works as desired.
Conclusion:
Making jumper wires is indeed very easy. However, did you think of the time, effort, and tools required to manufacture jump wires? You will need a cutting tool, wire, terminals, crimping tool, stripping tool, heat shrink, and heat tool on hand. Further, looking at every step and following it will definitely become a cumbersome task for you. Don’t worry; we have done that tough part for you.
We have made high-quality jumper wires for you so that you pick and plug them in. Our jumper wires are very flexible so that you can bend and twist them without any fear of damage to insulation. Further, our jumper wires are pre-terminated, making your installation much easier.
Get Your Free Sample!
Explore our custom services now. Email us at [email protected] for more details.