Wire harness assemblies are an integral part of all-electric systems, and all-electric systems come with factory-made harnesses. However, sometimes, you need to build your harness to improve its appearance or make it fit for an application. If you know the basics of wire harness making, it becomes easier and less time-consuming. This blog post will teach us how to construct a DIY wire harness assembly.
Get Your Free Sample!
Explore our custom services now. Email us at sales@wiringo.com for more details.
What Do I Need To Know Before Making a Wiring Harness?
In order for an application to work as intended, you should consider every component and cable assembly that you plan on using on the wiring harness. Therefore, it’s not a bad thing to remind yourself about the basics when designing a cable harness.
Purpose
Ask yourself what else your wiring harness needs to do besides transmitting power and electrical signals between components.
Think about the specific needs of your application. For instance, does it need to fight vibration?
Also, does it need protection against electromagnetic interference or whether it can withstand pressure, heat, and other conditions?
Wire Selection
Below are the main factors to consider when choosing a wire for your design.
Wire Specifications
Consider the electrical requirements determined by the wire’s thickness or gauge, especially the amount of current your wire needs to convey and its carrying capacity, all measured in amps.
Keep in mind that length is also an important factor, as a longer wire means you’ll lose more voltage through heat and resistance.
You can solve such a problem by increasing the gauge, which in turn increases the amp capacity.
Environmental Conditions
Ensure the wire you choose can withstand the environmental conditions of your application’s environment.
For instance, if you plan on exposing your harness to high temperatures, you should choose a wire with a high-temperature rating.
If you plan on exposing the harness to moisture, then select a wire with a moisture-resistant coating.
Mechanical Properties
A wire’s ability to withstand mechanical stress determines the wire’s correct and efficient output, which includes twisting or bending without losing electrical properties or breaking.
Also, if you plan on exposing the wire to scraping or rubbing, choose one with efficient abrasion resistance.
Wire Connection
Connectors create electrical circuits while protecting the wires from environmental conditions like EMI and abrasion.
The connectors you choose should be in regard to their mechanical and electrical properties. The wires will influence the connectors; therefore, you should know the wire’s length, material, and gauge.
You should consider circuit density and size as well as space limitations. Also, if necessary, it’s important to consider the ease of disconnecting and connecting wires.
The Termination End Matters, Too
You’ll need specific connectors for board-to-wire, board-to-board, or wire-to-wire. A clamping device and other hardware are used to install and support your connector; therefore, it’s important to prioritize quality.
The Importance of Standardization
Using standard connectors and other components will make it easier to source what you need. Although the search could still be time-consuming, it’s best to go further with the Arcadia Component Database.
There you can quickly search for parts and find necessary documentation for parts. Also, it helps avoid duplication in inventory and enables you to quickly review your price details.
Routing:
Ensure to route the wires in a way that makes accessibility easy. Optimum positioning is important as you want a harness that’s easy to install and maintain. Also, any wires that might need repairing or replacing should be easy to access.
Furthermore, it’s important to consider any potential sources of electromagnetic interference that could affect your wiring harnesses’ performance. The routing in a wire and cable harness should reduce the risk of interference and prevent signal degradation.
Segregate your Wires.
Do this according to their signal type, function, and voltage to help prevent interference and ensure your wires are correctly connected to their respective devices. It’s important to ensure all your wires are routed to the correct system points.
Strain Relief
Designing a wire harness assembly for strain relief will help avoid future problems. If you don’t do this, your wires might break or loosen as a result of pulling, vibration, or other forces, especially in applications that expose the harness to extreme mechanical stress.
Add Strain Relief Components If Necessary
The first step is identifying potential sources of stress. You should consider cable management to assist with strain relief.
Components like cable clamps, cable ties, or grommets could help protect the wire harness assembly. Your choice is dependent on your application, environment, and design of the harness.

Grommets
Also, determine the ideal spots in your harness for strain relief components. Normally, you should place them in positions where the wire is exiting the harness, as these are more vulnerable.
Furthermore, ensure your harness is flexible enough to facilitate bending and movement while maintaining its structural integrity.
Material Matters
Don’t forget to consider the material for the strain relief. The material should withstand environmental conditions while providing the properties you need, like chemical resistance and strength.
Wire Harness Diagram
It’s advisable not to try and come up with the diagram by hand. You can use a wire harness design tool like ECAD or computer-aided design to create a good wire harness diagram.
Plus, you can check your design to observe its behavior and voltage drop in real-time to make necessary adjustments using a browser.
Also, you can check to determine if your design meets safety standards.
Ensure Flexibility:
Ensure your harness is flexible enough to facilitate bending and movement if necessary, while maintaining its structural integrity.
This will help you save costs, thus optimizing the design phase. Manual harness diagrams are an efficient way to work.
Protective Covering:
Cover your wire harness with a protective sleeve or sheath to protect it from damage. Also, providing an additional layer of insulation will protect the cables and wires.
To do this, you need to understand the environmental conditions you plan on exposing your wiring harness and the material of the protective covering.
Pay Attention To Material Properties
For instance, if you are designing an engine wire harness, chemicals, fluids, rattles, and vibration are a concern.
Your protective material should be able to handle all these threats. Protective coverings are different according to type, such as heat shrink sleeves, tape, pulled-on braided tubing, and spiral wrap.
Also, the protective covering helps keep your wires in a neat bundle.
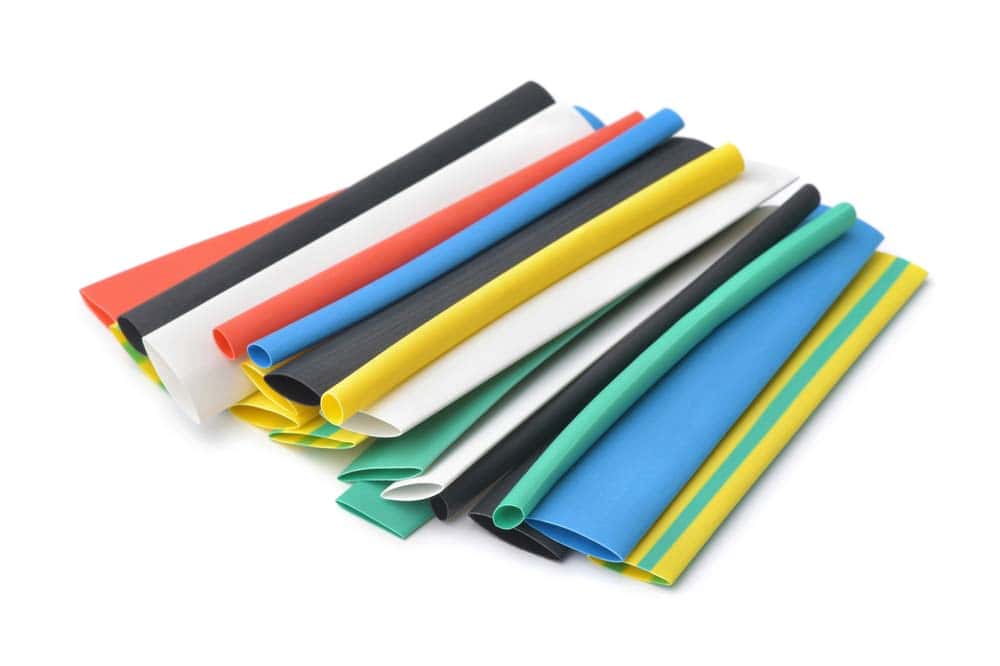
Caption: Heat Shrink Sleeves
Testing
Testing should always be on your mind, even during the early stages. Do not overlook anything when testing the prototype, or you’ll be risking downtime during the quality control stage, bringing you back to the design process.
Ensure you have all the necessary equipment for testing electrical integrity. It should be able to find problems across all conductors of the UUT (Unit Under Test) without human intervention.
Since you’re testing the quality of the connection, you should include electrical load and embedded resistors. The test should:
- Check for intermittent connections
- Allow you to set up dual thresholds or limits
- Measure resistance
Documentation
Documentation is vital for service and after-sale consultants. This includes an intelligent, technical publications export, including the schematic design and connector information, plus locations embedded into an offline/online viewer. This makes it easier for your engineers to understand and the technical publications to generate.
Compliance:
The design and manufacturing process of a wire harness is subject to standards and regulations.
Regulatory and Safety Standard Agencies
Every region enforces the testing of electrical devices. In the United States, the IPC/WHMA-A-620 is the industry standard for wire harness assembly. For applications targeting international markets, you might need to use the following as your guideline.
- European Committee for Electrical Standardization (IEC)
- International Commission for Rules for Approval of Electrical Equipment (CEE)
- International Electrotechnical Commission (CENELEC)
Get Your Free Sample!
Explore our custom services now. Email us at sales@wiringo.com for more details.
Components that make up a Custom Wire Harness
Wire harness assembly comprises wires, cables, terminations, connectors, sleeves, and other things that help organize these parts in an extensive electrical system.
Wiring harness wires
Wires are the main component of wiring harnesses. There is either a single conducting strand of aluminum or copper or can be braided or stranded wires. The use of different wires depends on the needs of the project.
Sometimes, you may also need different gauge wires in the same wire assembly to provide multiple functions. According to the AWG system, manufacturers use standard gauges in wire harnesses 10, 12, and 14.
In addition, standard wire colors and their functionality are:
Black wires: indicates a hot/positive current
White wires: indicates a negative current
Green wires: mainly used for ground wiring in residential applications
Red wires: work as a secondary line for hot/positive currents
Blue wires: designates a point of connection
Cables
The electrical industry uses different standard cables. These cables typically have a neutral, hot, and ground wire. Each of these wires twists and bonds together to form a single wire. The cable wires have PVC insulation or others to prevent shocks. Also, the color coding of insulation helps identify the wires.
Different cable standards help engineers design a system based on cable specifications. As a result, they save a lot of time and money rather than manufacturing the harness from scratch. UL-certified cable types include TPT, SPT-2, SVO, TST, SJE, and SJOOQ.
Connectors
There are connectors available in different shapes and sizes, but there are specific connectors for a particular cable. For example, in a complex custom wiring harness, you can find socket-type connectors, dip connectors, d-sub connectors, and card edge connectors, along with ribbon cable connectors.
Terminations
When you terminate a cable at the connection point of equipment, wall outlet, panel, or any other device, you need to terminate it perfectly and safely. You can find endless terminations options, including insulated or non-insulated spades, ring terminals, hook terminals, and others.
The tools & parts you need for building a wiring harness
While building a wire harness, you need to make several electrical connections for which you need to do splicing and termination. As a result, you may require some tools to get the job done.
Electrical tapes and cable ties
These will help shield the wires and cables from abrasion, essential for preventing electrical fires.
Soldering iron
You can use it for splicing wires. Though the process is time-consuming and requires skill, it’s much more professional and robust. You may also need heat shrink tubing to complete the process.
Wire cutters and crimpers
Other than soldering iron for splicing wires, you may also need to make a crimp connection. Thus, you may also need a wire cutter and crimper. You can also take an automatic wire stripper.
A helping hand station
You may also need a helping hand station where a clamp holds the wires together while working.
A dielectric grease
You may also want a dielectric grease for installing the wire harness.
A workbench
You will need a workbench with vast space to extend the harness.
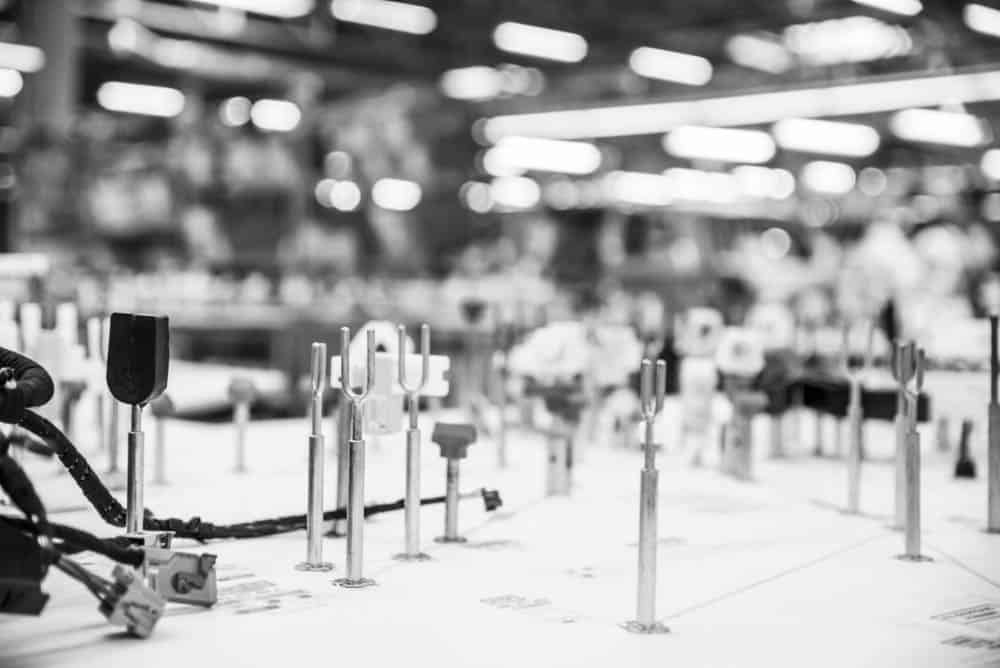
Caption: automotive industry manufacturing wiring harnesses
Build a wiring harness at home
Running the wiring harness through the vehicle is the most daunting task. There are chances of cuts and bruises while hooking wires and different dash components. So, it’s better to be safe. Always wear your safety glasses and gloves while working. Further, there are high chances of electrical shocks and fire. So, always keep a fire extinguisher with you. Also, ensure that you do not supply any power to the harness while working; otherwise, it can be hazardous. Also, take precautions while moving parts with sharp or dull edges, as it can damage the casing.
Study a schematic
While building wire harnesses, you will have to refer to the schematics or wiring diagrams. With the right schematics, you can be sure that you are making the right connections. Also, it helps you to avoid tapping harmful wires in power devices. The cable harness diagram also saves time if you study them before building.
Lay out your harness
If you are replacing an old harness, it can work as a reference point for building a new one. So, lay it out and try to understand wire lengths and routing.
Decide where to mount the fuse block.
Mainly, it will not mount at the old location, thus throwing off the measurements for some wires.
Take note of routing in the car.
You need to learn where to run the wires before making connections. When you know this, you can cut and splice the wires without any potential mistakes. It is the most annoying job in the whole wire harness-building process, whether a short harness or a long one. You can take the help of the factory wiring diagrams. Some universal-style harnesses come with proper labeling to make things easier.
Replicate your wire routing on the workstation
Create a replica of the wiring diagrams in the car on your workstation. With this, you need not run back to your vehicle a hundred times, and also, you will get much more accurate results. Simply trace the dimensions and lay the wire on them.
Separate, Protect, and Secure
Separate all the wires before splicing. Add wire tapes, looms, or sleeves to prevent the tangling of the wires. Once done, take the harness to the car for the last mockup.
Source old connectors
Now, you can cut connectors from your old harness and put them in the new one. However, start one by one; otherwise, it will confuse you. Take notes in a notebook, or draw pictures or label wires to clarify things.
Instead, you can also use crimp connectors, but the finish could be better.
Strip the wire
Take a wire stripper and remove a small portion of the wire insulation from one end. Remember, you must attach wires to terminals and cut them according to the terminal size.
Cut the heat shrink
Cut a heat-shrink tubing longer than the stripped wire length, and insert this tubing over the unstripped part of the wire.
Attach a terminal
- Pick a terminal, put its seam into the pliers, and crimp it slightly.
- Insert this terminal onto the wire and squeeze the wire and terminal with the pliers.
- Apply enough force to crimp the wire and not damage them.
Cover the wire
Next, pull the shrink tubing over the crimped edge of the wire and the terminal. Make sure that the tubing closes the two parts completely and tightly.
Shrink the tubing
In this step, you need a heat gun. Switch on the gun set the required temperature, and let it warm. Now direct the hot air from the gun over the heat shrink tubing.
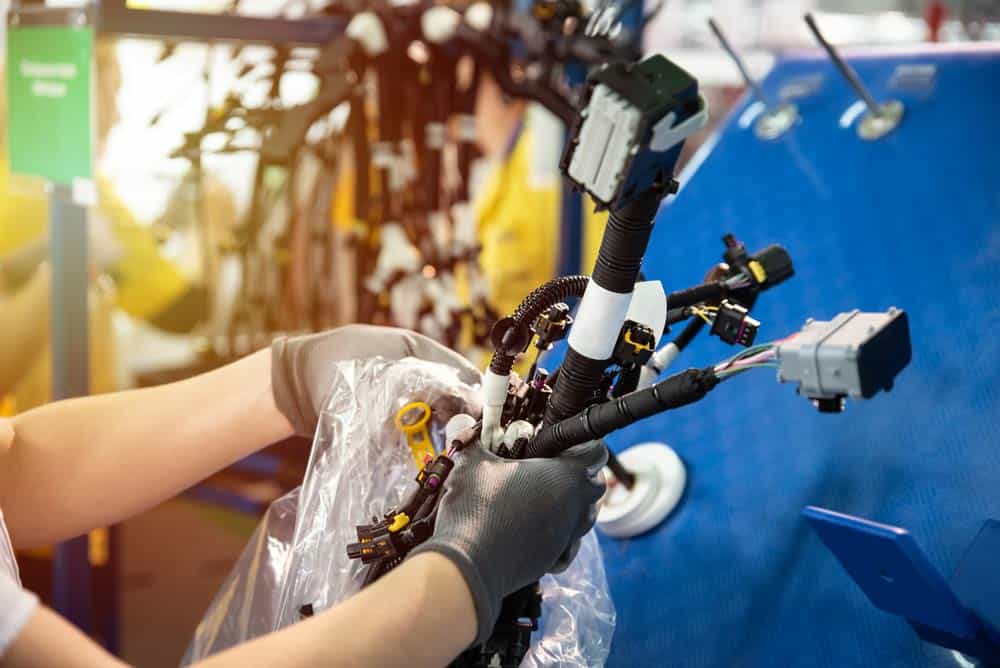
Caption: worker packing wiring harnesses
Conclusion
Hope you learn how to build your wiring harness. If you have any issues, you can ask for custom design wiring harnesses from Wiringo. We are a leading manufacturer of custom cable assemblies, and wiring harnesses suitable for various applications.
Get Your Free Sample!
Explore our custom services now. Email us at sales@wiringo.com for more details.