Cat6 cable assembly are the perfect choice for home applications as they allow for future growth and versatility compared to Cat5. However, with that in mind, Cat6 cables are harder to terminate. Keep yourself in the game, and read on to learn more about Cat6 cable assembly.
Get Your Free Sample!
Explore our custom services now. Email us at sales@wiringo.com for more details.
What are Cat6 Cables?
Manufacturers build the Cat6 cables with a UTP design that serves as an advancement of the Cat5e cables. However, the Cat6 design requires enhanced precision during manufacturing to enable reduced crosstalk and noise, allowing better performance.
Cat6 cables feature twisted pair wires applied in the ethernet and various network layers capable of backward compatibility with Cat3 and Cat5/5ae cables. However, Cat6 cables must meet tougher system noise and crosstalk specifications compared to Cat5/5e cables.
The Cat6 cable offers performance at rates of about 250 MHz and a decreased maximum length of 180ft when applied in 10GBASE-T. Later, manufacturers introduced an enhanced Cat6 cable, the Cat6a cable, which offers a better performance of about 500 MHz. Also, Cat6a cables offer better alien crosstalk capabilities, allowing for a maximum length of 330ft for 10GBASE-T.

Caption: Cat6 Twisted Pair Cable
Get Your Free Sample!
Explore our custom services now. Email us at sales@wiringo.com for more details.
Cat6 vs. Cat6a
Cat6a cables are ANSI/TIA-568.2-D-compliant, a standard brought forth by the TIA for enhanced performance standards for twisted pair cable systems. The standard was instituted in 2018. The Cat6a cables have performance rates of up to 500 MHz; that’s twice as much as Cat6 cables, not forgetting its Cat6a ability to pick up high levels of alien noise at high frequencies.
The ISO/IEC 11801 international cabling standard was extended by adding a second amendment. The new amendment defines the specifications for Cat6a components. The specifications require modern connecting hardware that offers better performance based on the TIA standard.
The performance difference between the TIA and ISO component specifications for the next transmission parameter is crucial. ISO Cat6a connectors at a frequency of 500 MHz perform 3 dB better than TIA Cat6a connectors. The difference means a 50% reduction of crosstalk noise signal power.
Often, there’s confusion in the naming conventions and performance benchmarks created by the ISO and TIA, which differ from the European EN 50173-1 standard. However, of the two (ISO and TIA, the ISO standard is more stringent than the European standard.
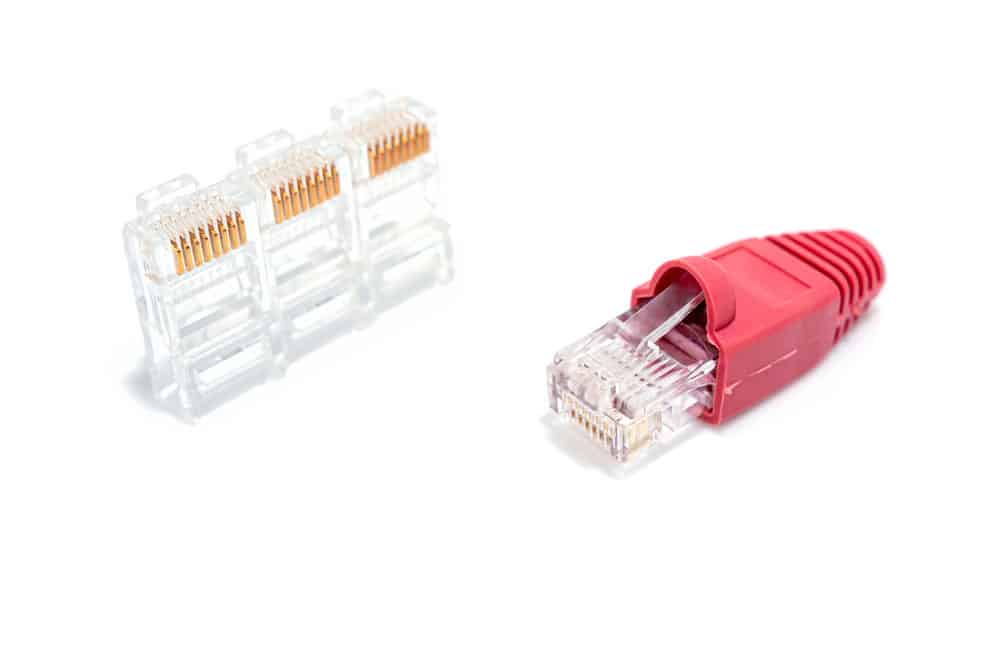
(Caption: RJ45 Connector)
Cat6 Patch Cords and Cables Wiring Standard
Generally, Category-6 patch cords and cables get terminated in 8P8C modular connectors by either T568B or T568A pin assignments. Their performance is comparable as long as you terminate both ends of the cable identically. It’s important to ensure that for Cat6 wiring, you use Cat6-rated patch cables, connectors, and jacks to ensure effective performance and compliance with various performance specifications and standards.
| TIA/EIA-568-B.1-2001 T568-A Wiring Scheme | |||
| Pin | Pair | Wire | Color |
| 1 | 3 | 1 | White/Green |
| 2 | 3 | 2 | Green |
| 3 | 2 | 1 | White/Orange |
| 4 | 1 | 2 | Blue |
| 5 | 1 | 1 | White/Blue |
| 6 | 2 | 2 | Orange |
| 7 | 4 | 1 | White/Brown |
| 8 | 4 | 2 | Brown |
| TIA/EIA-568-B.1-2001 T568-B Wiring Scheme | |||
| Pin | Pair | Wire | Color |
| 1 | 3 | 1 | White/Orange |
| 2 | 3 | 2 | Orange |
| 3 | 2 | 1 | White/Green |
| 4 | 1 | 2 | Blue |
| 5 | 1 | 1 | White/Blue |
| 6 | 2 | 2 | Green |
| 7 | 4 | 1 | White/Brown |
| 8 | 4 | 2 | Brown |
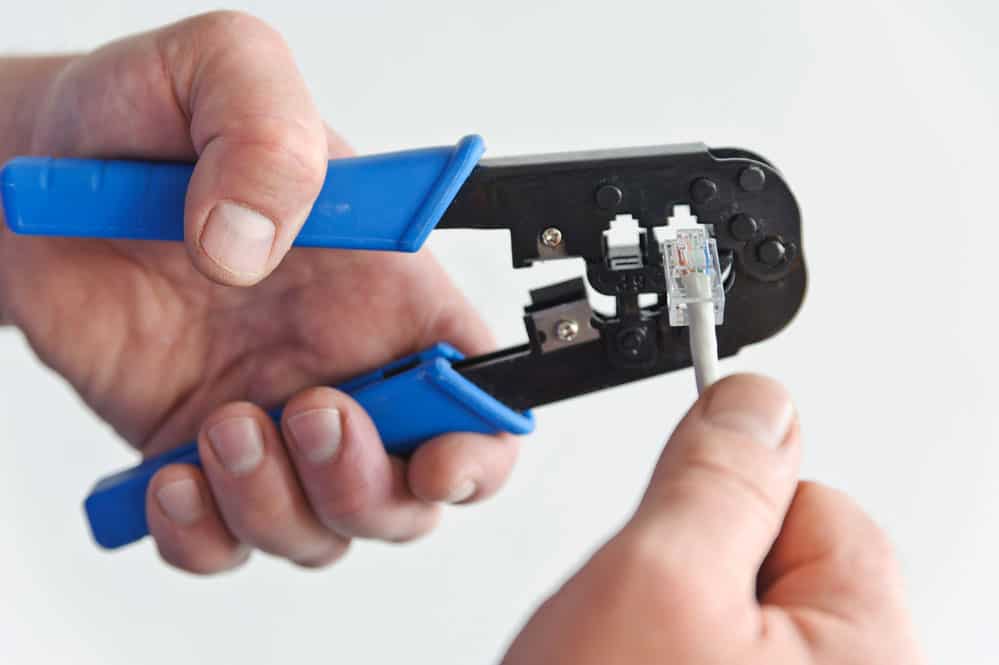
Caption: Crimp Tool
How to Crimp RJ45 Cat6?
If you’re looking to learn how to crimp an RJ45 connector, you’ve come to the right place. Follow the steps below to help guide you.
Step 1: Prepare the Cable and Remove the Insulation
Most professionals first mount the cable connectors before running the cable. Often, you can succeed because you don’t want to have to pull a connector through the conduit, wall, or behind furniture. First, remove the entire cable from the spool and lay it where you intend to use it. Use a sharp cutting tool or wire striper to strip off the outer insulation. If the cable has a non-metallic shield and core, cut them back. You’re left with four pairs of exposed ethernet wires. These pairs include blue, green, brown, orange, and their white counterparts.
Step 2: Cat6 Crimping Color Code
An important point in crimping an RJ45 connector is knowing the color code. There’s a diagram you can follow to help you properly position the wires into the RJ45 jack. Use the table below to help you make your way through this step.
| Cat5e Wiring Diagram for T568B (Straight Through Cable) | |
| RJ45 Pin Number | Wiring Color |
| 1 | White/Orange |
| 2 | Orange |
| 3 | White/Green |
| 4 | Blue |
| 5 | White/Blue |
| 6 | Green |
| 7 | White/Brown |
| 8 | Brown |
Step 3 – Prepare The Wires for The RJ45 Connector
The wires observed in the last step aren’t as easy to maneuver as you’d think. It’s essential to take time to carefully sort out the wires to allow you to set them in the RJ45 connector properly. Otherwise, failure to do so will result in you having difficulty inserting the wires into the plug, increasing the chances of creating a poor crimp. If you’re unsure of the orientation, placing wires in the wrong position is easy. To succeed in this step, it’s best to use needle nose pliers that will help you save assembly time. Also, remember to use a sharp cutting tool to cut about half an inch of the wire to ensure the connector is biting the cable’s insulation. Failure to do so would increase stress on the signal conductors.
Step 4 – Prepare The RJ45 Connector & Crimping Tool
During this step, you’ll prepare the necessary tools for crimping. Insert the RJ45 connector into the crimp tool. Often there’s a slot to help keep the connector in place. Ensure you press the tool at the right time to avoid inserting the pins improperly, which will mean you’ll have to throw them away. This is important because RJ45 connectors aren’t reusable even when slightly misplaced.
Step 5 – Insert the Wires Into the Connector & Crimp
Some people opt to insert the wires while the connector is inside, and others prefer otherwise. Insert the wires accordingly and squeeze.
Step 6 – Verifying Your Work
The last step is validating your work. With RJ45 crimping, there’s often room for errors, hence the importance of inspecting your cable. You’ll need a cable checker complete with two modules. Place a module on either side to determine if you’ve established a reliable connection or need to re-crimp the cable. Never assume everything is okay, especially if you have multiple connections.
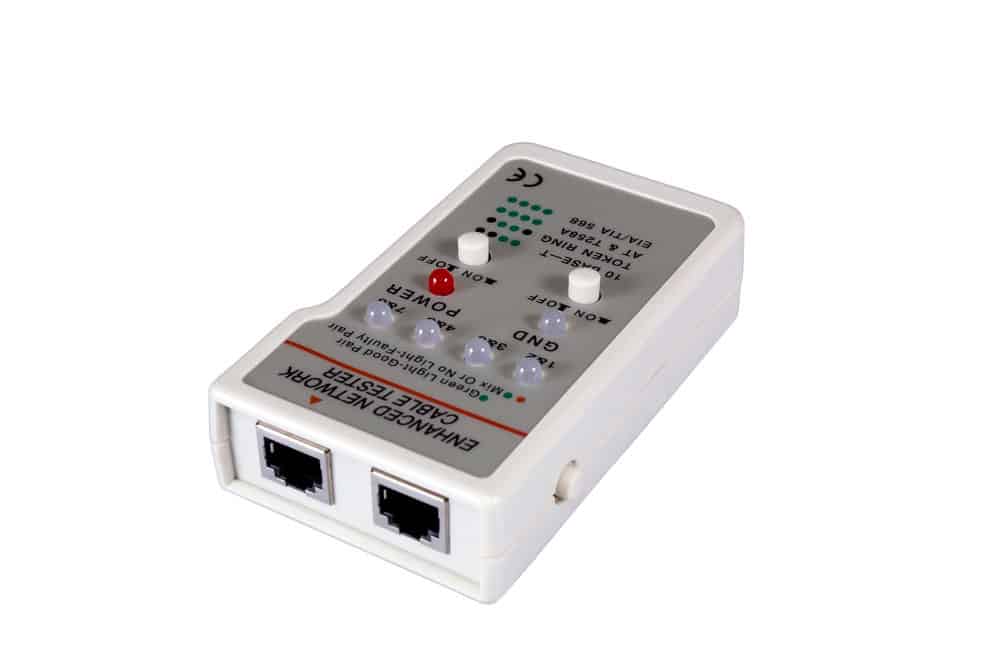
Caption: Cable Tester
Conclusion:
Wiring a Cat6 Ethernet cable isn’t as difficult as you might think, and it gives you endless customization options for your home network. At Wiringo, we provide all CAT6 and CAT6a cable assembly services. Feel free to contact us for the best services.
Get Your Free Sample!
Explore our custom services now. Email us at sales@wiringo.com for more details.