It can be challenging if it’s your first time installing an aftermarket stereo for your vehicle. You will ask yourself what the blue and white wire on radio harnesses does and how to perform the wiring successfully.
Read on to learn about how to install an aftermarket stereo harness successfully.
Get Your Free Sample!
Explore our custom services now. Email us at sales@wiringo.com for more details.
What’s a Stereo Harness?
Harnesses act as adapters that allow you to easily install an aftermarket stereo.
You can use specialized harnesses to extend the wire or bypass the built-in amplifiers.
You can easily purchase stereo harnesses at affordable prices. To ensure you don’t encounter any issues, ensure the wire harness you pick suits your vehicle and the aftermarket stereo.
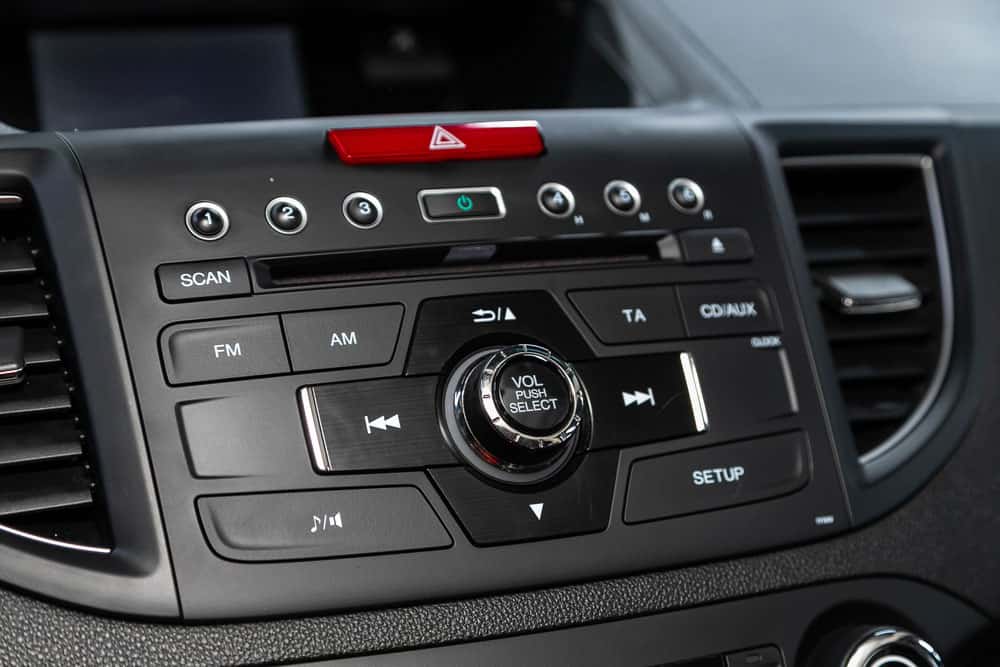
Car Stereo
How to Install an Aftermarket Stereo?
There are two ways to install an aftermarket stereo: using or not using harnesses.
Install an Aftermarket Stereo Using Harness
First, you should choose the correct harness. There are countless wire harness adapter options for various cars and head unit combinations at affordable prices.
However, the challenge comes in terms of compatibility. The head unit harness will only function properly if the design and a new head unit are specific to your car.
After you figure out the model of the head unit you plan on installing, you can use several online resources that allow you to apply such information along with the model, make, and year of vehicle to find an available wiring harness adapter.
Then, keep the wiring diagram in mind. Often, people confuse the wire harness color to use for their car.
Thankfully, harnesses typically use a standard color layout to help guide you. Otherwise, you’ll need a wiring diagram printed on the head unit’s exterior or available online.
Last, match the vehicle’s stereo wiring harness colors to the color slot on the wire harness. You must plug the opposite end of the harness into the vehicle’s head unit.
How to Install an Aftermarket Stereo Without Harness?
Usually, there’s a possibility you won’t find the correct harness for your car and stereo. Therefore, the only method to wire connections for your aftermarket radio is manual.
Before beginning any installation, keep in mind the vehicle’s color code. You’ll need to connect the cables from the radio with a pigtail head unit.
If you have a used car stereo that you want to install and the pigtail that came with the head unit, check the list above to see to which each wire in the pigtail needs to connect.
Pigtail functions to connect the head unit to your model of car. However, failure to find the correct harness isn’t the end.
You could still opt to directly connect the pins or use a pigtail to get the job done. While purchasing a pigtail, watch out for the color code it applies.
Directly connecting the pins is challenging, and you should first acquire an idea of the diagram’s wiring because sometimes the color is different.
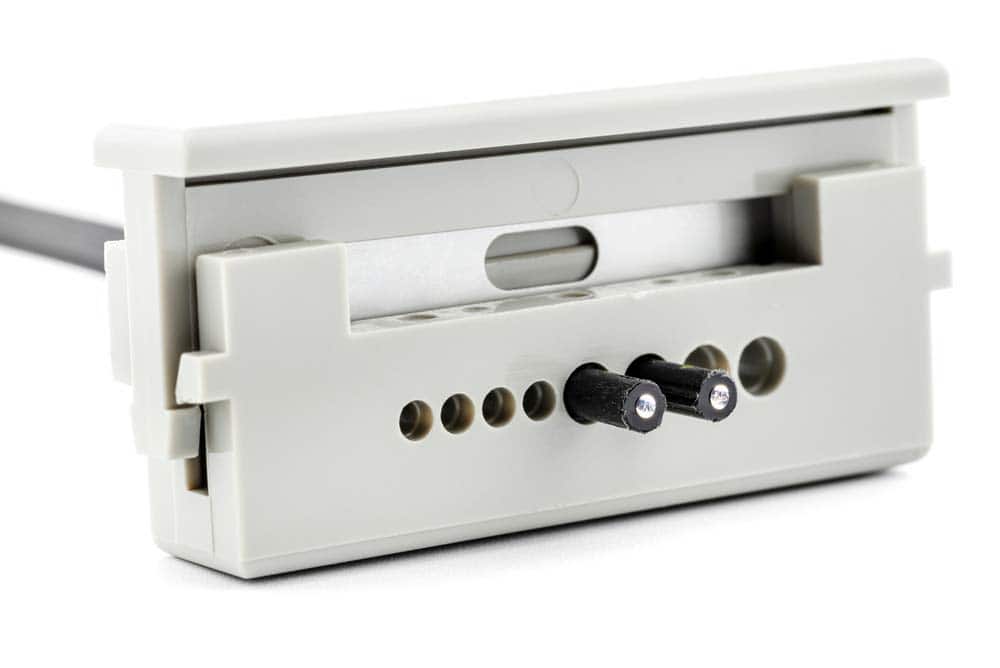
Caption: Pigtail connector
Benefits of Using a Head Unit Harness Adapter
As you can see, using a harness benefits a lot. Although aftermarket stereos have the same input and output design as the factory stereo in mind, often, the outputs and inputs aren’t in the exact position.
Acquiring a suitable adapter makes the job easier. You must plug one of the adapter’s ends into the stereo and the other into the original harness connecting to the factory stereo.
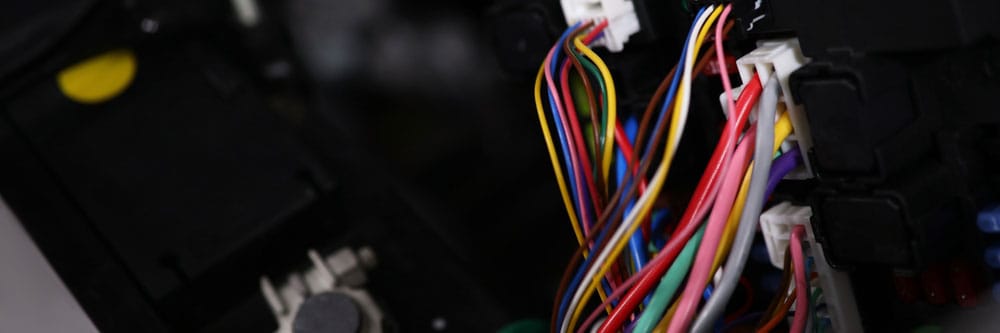
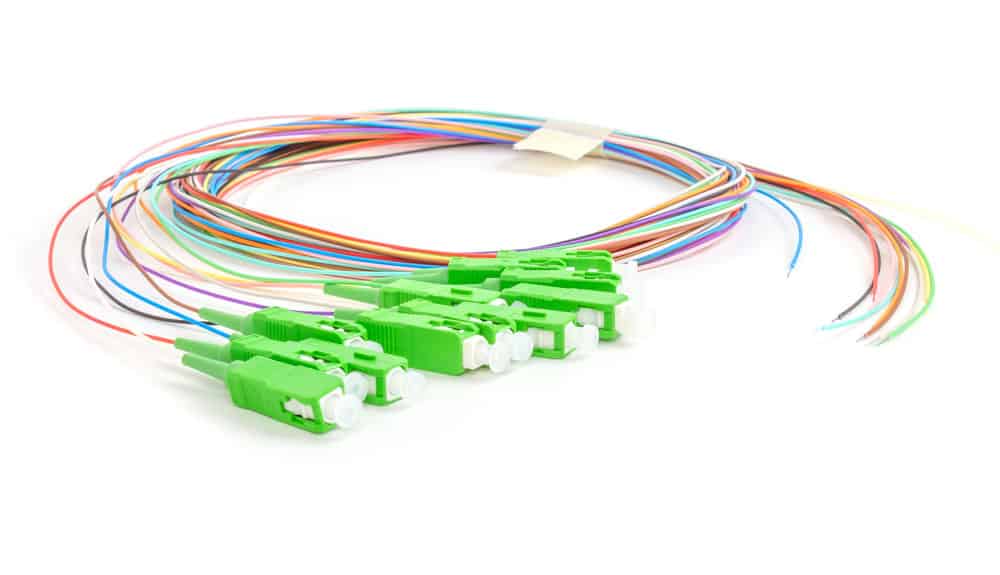
Image of stereo connectors
Get Your Free Sample!
Explore our custom services now. Email us at sales@wiringo.com for more details.
Why Choose Splicing Wires over Using Harness Adapters?
For the head unit harness to function properly, wire harness adapters must be designed to be compatible with both the head unit and the car.
If you can reach the exact head unit model you intend to install, plus the make, year, and model of your car, you can check online to see if an adapter is available.
Take The Blue and White Wire on Radio Harnesses for Example.
Regardless of whether it’s on a truck, car, boat, golf cart, or UTV, people often encounter amplifier installation problems involving the blue and white wire turning the amplifier off and on.
The blue and white wire receives power from your factory electrical system once the ignition is in the ON or Accessory position.
The voltage is transferred through the blue and white wires to your amplifier turn-on circuit. Once the amplifier detects the voltage, it turns on.
When you turn off the ignition, the transfer of voltage stops, which in turn turns off your amplifier.
The blue and white wire is also commonly called the remote control or accessory wire.
It’s important to note that most head unit harnesses also feature a solid blue wire that functions as the factory amplifier turn-on or power antenna.
Wiring the Blue and White Wire on Radio Harnesses:
It’s still possible to do this without any adapters.
First, Learn About Standard Aftermarket Car Stereo Head Unit Wire Colors.
Unlike original equipment manufacturer head units, most aftermarket manufacturers use a standardized color system.
There are a few expectations, but most use a standardized color system for the speaker, ground, power, and antenna wires.
Therefore, if you have an aftermarket head unit, you can expect it to apply the following color system.
| Wire Color | Function |
| Red | Accessory / Switch |
| Yellow | Constant 12V + / Memory |
| Black | Ground |
| Blue/White | Amp Remote |
| Blue | Antenna Remote |
| Orange | Illumination |
| White/Black | Left Front (-) |
| White | Left Front (+) |
| Grey/Black | Right Front (-) |
| Grey | Right Front (+) |
| Green/Black | Left Rear (-) |
| Green | Left Rear (+) |
| Violet/Black | Right Rear (-) |
| Violet | Right Rear (+) |
Second, Wire The Blue and White Wire With Your Aftermarket Head Unit
Aftermarket head units normally have a marked blue and white wire in their harness. All you have to do is connect your primary blue wire to the blue wire in your wiring harness, then run back your primary wire to your amplifier.
Third, Splice Into Existing Wiring
To connect one wire to another, you can use a sized butt connector or different style connector.
Soldering
The safest way to splice into the existing wire is by soldering each splice and protecting your bare wire connection using electrical tape or heat shrink. Although such a connection is more expensive and time-consuming, it creates a durable connection.
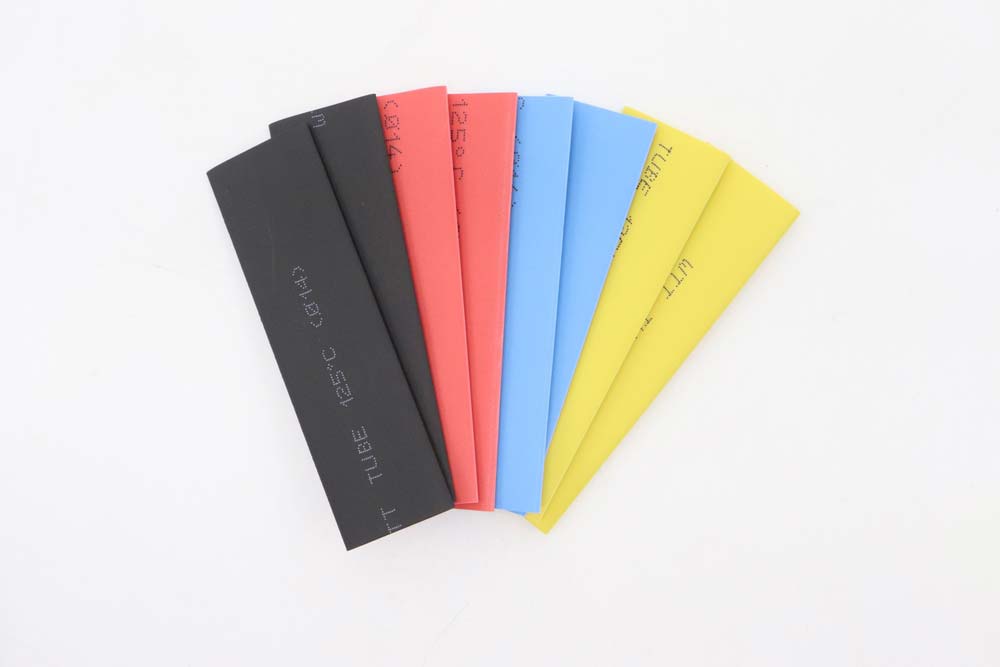
Heat Shrinking Tubing
T-taps and Butt Connectors
To splice into existing wiring via a butt connector, you’ll need to cut the wire in the exact position you plan on installing the connector.
Proceed to crimp one wire end into one of the butt connector’s ends. Then, twist the new wire you plan on installing to the opposite end of your cut wire.
Next, install the twisted end of your two wires to the opposite end of your butt connector and then crimp.
Finally, wrap your butt connector using heat-shrinking tubing or electrical tape to protect the connection from debris and moisture.
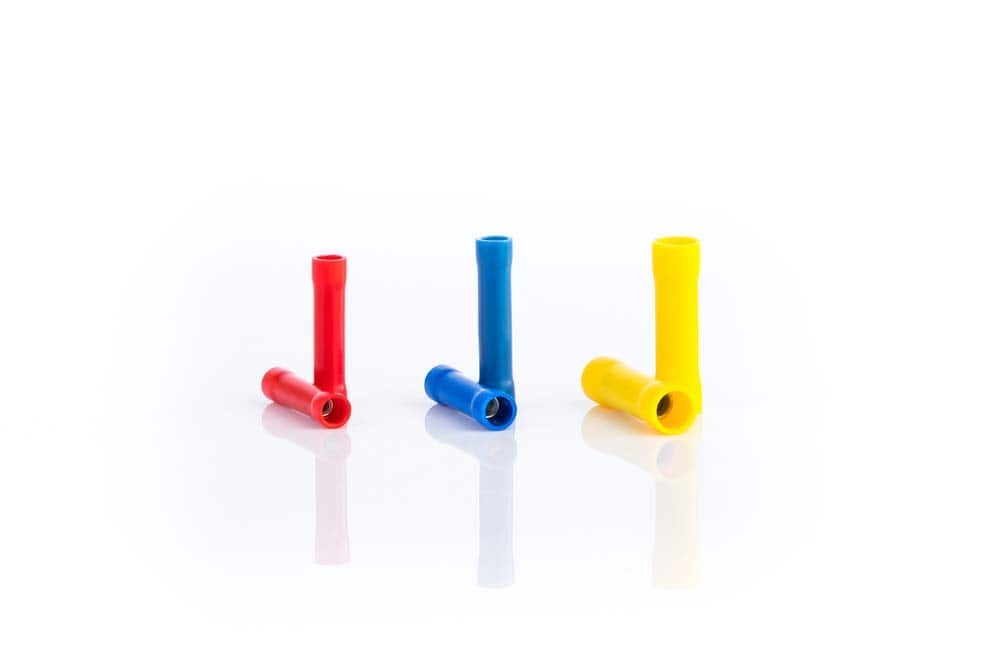
Butt Connector
Scotch Locks
Before you press the guillotine into your wires, first place your scotch lock on the wire you plan on splicing into.
Simply slide the wire into the side opening to the channel furthest from the opening. Next, place the wire you’re adding into the opening and the channel closest to the opening.
Once you correctly position the wires, you press the guillotine into your wires to lock the bottom part of your scotch lock.
Guillotine
Things Not to Do When Wiring The Blue and White Wire on Radio Harnesses
Keep in mind the following when wiring your aftermarket head unit.
Don’t Run a Jumper Wire From Power to Remote Turn On
A common problem people encounter when installing an aftermarket head unit is the amplifier not working due to improper connection.
Often, it is a failure to connect the blue and white wire to a wire with access to voltage when the ignition key is set to ON or accessory.
The best solution is running a jumper wire from the power terminal to the blue and white wire terminal.
Although doing so will turn on your amplifier, it will remain on because it receives constant voltage.
You may suffer from constant power draws and your battery draining overnight.
Further, it will draw excess power from your car battery, which could prevent your car from starting due to insufficient power.
Don’t Wire The Blue and White Wire To The Power Antenna in Modern Vehicles
With older vehicles, wiring the blue and white wire to your antenna is okay because when your radio turns on, the power antenna also works.
However, with modern vehicles, your power antenna can only receive power when your radio is in FM/AM mode. If you switch to CD, AUX input, or satellite radio, no power reaches your power antenna, turning off the amplifier.
Conclusion
There you have it; all you need to know is how to install your new aftermarket stereo. At Wiringo, we’re experts on all things harnesses, so if you need help, feel free to contact us.
Get Your Free Sample!
Explore our custom services now. Email us at sales@wiringo.com for more details.